 Portfolio
  About us
  Blog Page
  Photo Editing
  Video Editing
  Virtual Staging
  Floor Plans
  Virtual Twilight
  Declutter
 Residential Real Estate Photography Tips for Stunning Listings
22/11/2025
Getting residential real estate photography right is crucial if you want your listings to stand out on major property platforms. When photos look cluttered, dark, or poorly composed, buyers are less likely to notice them, and the property may stay on the market longer.
So what makes great residential real estate photography? How can you improve your results?
In this guide, we’ll walk through how to capture strong images, the editing techniques that help them stand out, and how to market properties effectively using photography.
Capturing the Right Shot
The first step is learning how to take strong, balanced photos of the property.
In most cases, landscape orientation works best for real estate listings. Portrait images often feel awkward and don’t display rooms as effectively on listing platforms.
Camera height also matters. Positioning the camera between waist and chest level usually creates the most natural perspective and helps highlight the room’s layout. Shooting too high can distort the proportions of the space.
Another helpful technique is the “three-wall rule.” Showing three walls in a room can make the space appear larger and more open to potential buyers.
It’s also important to keep vertical lines straight. Tilted walls or leaning lines make photos look unprofessional and can leave a poor first impression.
Finally, consider using exposure bracketing for HDR images. Taking multiple exposures such as +2, 0, and −2 allows you to merge them later during editing and produce a more balanced and natural-looking result.
Essential Equipment for Real Estate Photography
Using the right equipment can significantly improve the quality of your images.
Many photographers today prefer mirrorless cameras because of their advanced sensors and image quality. DSLRs are also a good option, especially for those looking for a more budget-friendly setup.
Wide-angle lenses are commonly used in real estate photography. A 10–20mm lens for APS-C cameras or a 16–35mm lens for full-frame systems can capture more of the room while maintaining a natural look.
Other useful tools include:
-
A sturdy tripod to keep the camera steady
-
A shutter timer or remote to reduce camera shake
-
An external flash for darker rooms or evening shots
A professional setup can cost around $2,000, though more affordable options are available for beginners.
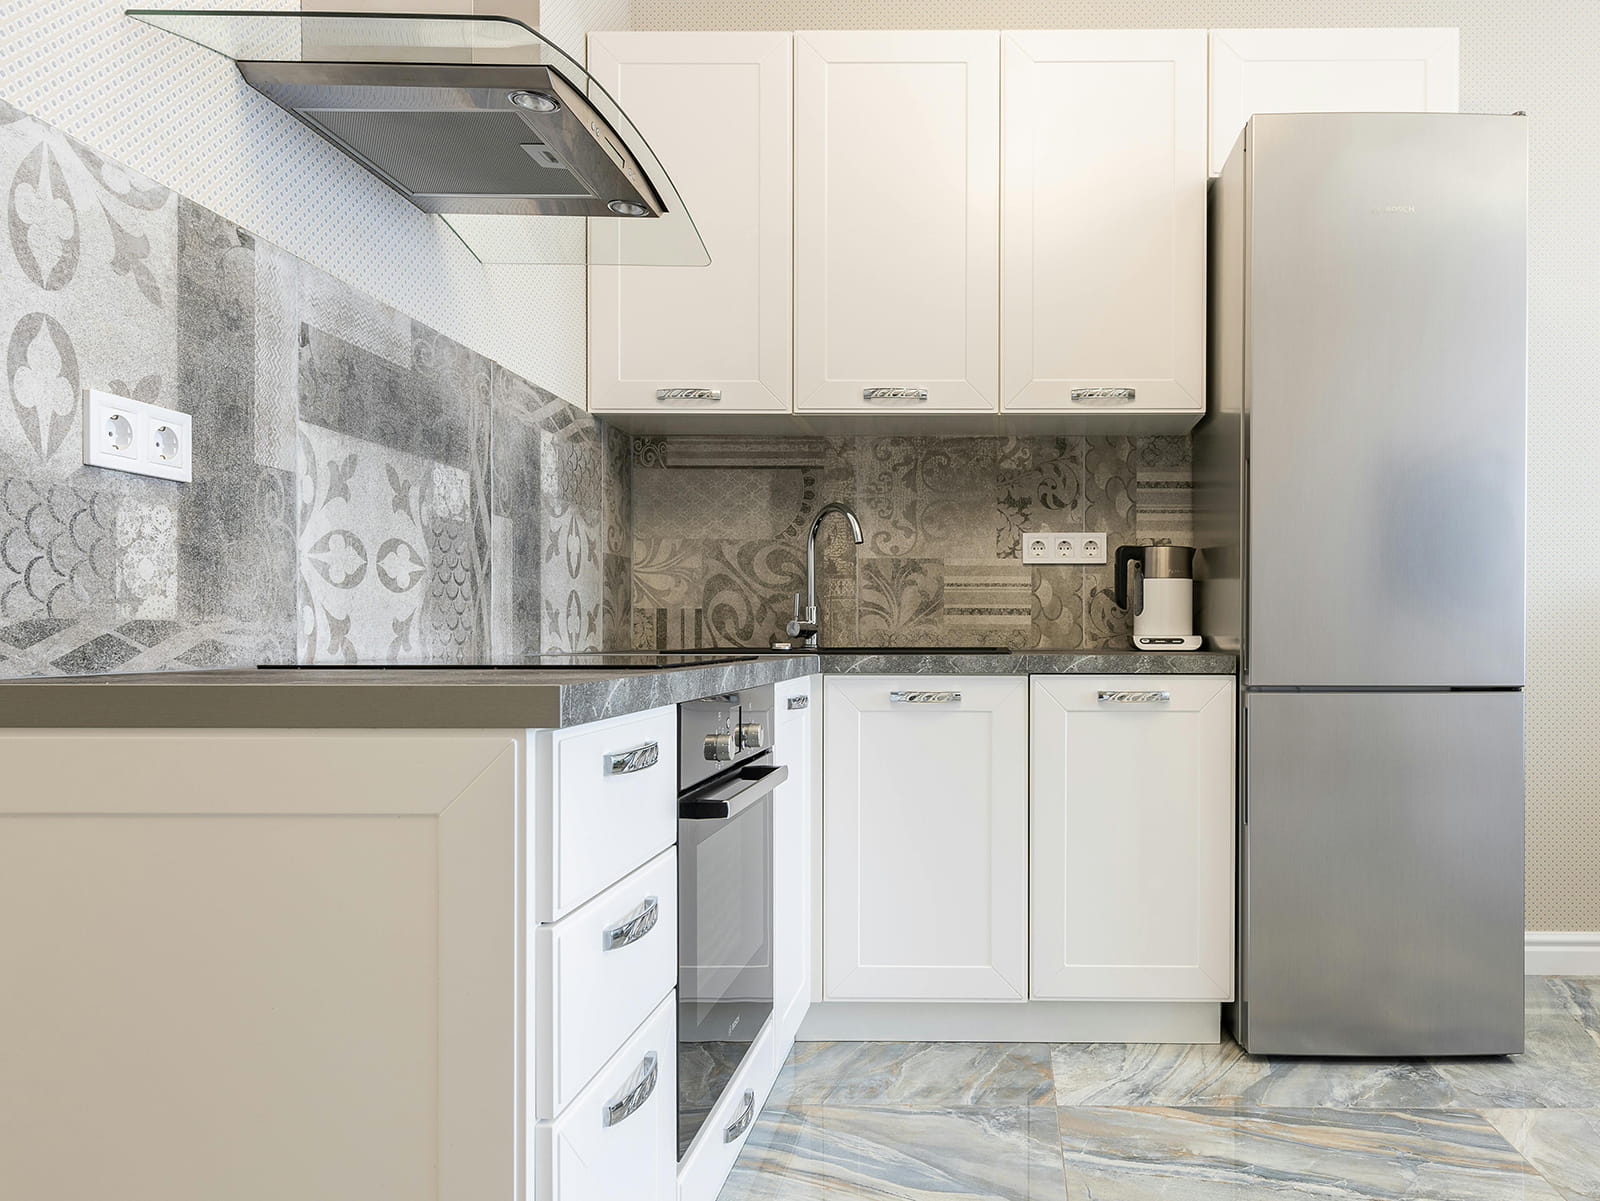
Styling the Property Before Shooting
Declutter the Space
Start by removing unnecessary items from the scene. Clearing surfaces and hiding visible cables or clutter makes rooms look cleaner and more appealing.
Today, some editing tools can also help remove unwanted objects, but preparing the space beforehand always improves the final result.
Add Simple Staging
Small staging improvements can make a big difference in how a home appears in photos. Well-presented properties often attract more interest and may even increase perceived value.
Some simple staging ideas include:
-
Adjusting cushions and pillows
-
Adding fresh flowers or simple decor
-
Placing fruit bowls in the kitchen
-
Hiding trash bins or pet items
-
Setting the dining table neatly
Prepare Each Room Carefully
Different rooms should be styled according to their purpose.
For example:
-
Bathrooms look best with clean white towels and minimal personal products.
-
Bedrooms should have neatly arranged bedding similar to hotel styling.
-
Living rooms should highlight a focal point like a coffee table, fireplace, or seating area.
Taking time to stage each space properly can greatly improve the overall presentation.
Editing Techniques That Improve Real Estate Photos
Once the photos are taken, editing helps refine them and ensure they look polished and professional.
Most editing workflows begin with perspective and lens corrections. Adjusting these settings ensures walls and lines appear straight and natural.
If horizontal or vertical lines look misaligned, correcting them will immediately improve the image quality.
Other useful adjustments include:
-
HDR merging if multiple exposures were taken
-
Sharpening details
-
Correcting white balance
-
Reducing image noise
Advanced editing tools can also enhance skies, adjust lighting, or remove distractions to improve the final look.
Using Natural Light Effectively
Natural light plays a huge role in real estate photography. Bright, naturally lit spaces tend to look more inviting and appealing to buyers.
Start by opening blinds and curtains to allow daylight to enter the room. This helps create a fresh and airy feel.
In many cases, turning off interior lights can help avoid mixed color tones in photos. However, this depends on the lighting conditions and the style you want to achieve.
If sunlight is too strong, sheer curtains can help soften the light while still keeping the room bright.
Overcast days can also be ideal for photography because clouds act like a natural diffuser, creating soft and even lighting.
For rooms without windows, additional lighting equipment or careful editing may be needed to balance the exposure.
Highlighting Unique Property Features
Another important part of real estate photography is emphasizing what makes the property special.
This could include:
-
Architectural details
-
Fireplaces
-
Crown molding
-
High-end materials
-
Outdoor spaces
Capturing close-up shots of interesting materials like wood, stone, or metal textures can add visual interest to the listing.
Drone photography can also be helpful for properties with large land areas, scenic surroundings, or unique locations.
Creating an Emotional Connection
Strong real estate photography doesn’t just show a property—it helps buyers imagine living there.
Lifestyle-style touches can help create this feeling. For example:
-
A styled coffee table
-
Kitchen elements arranged naturally
-
A comfortable reading corner
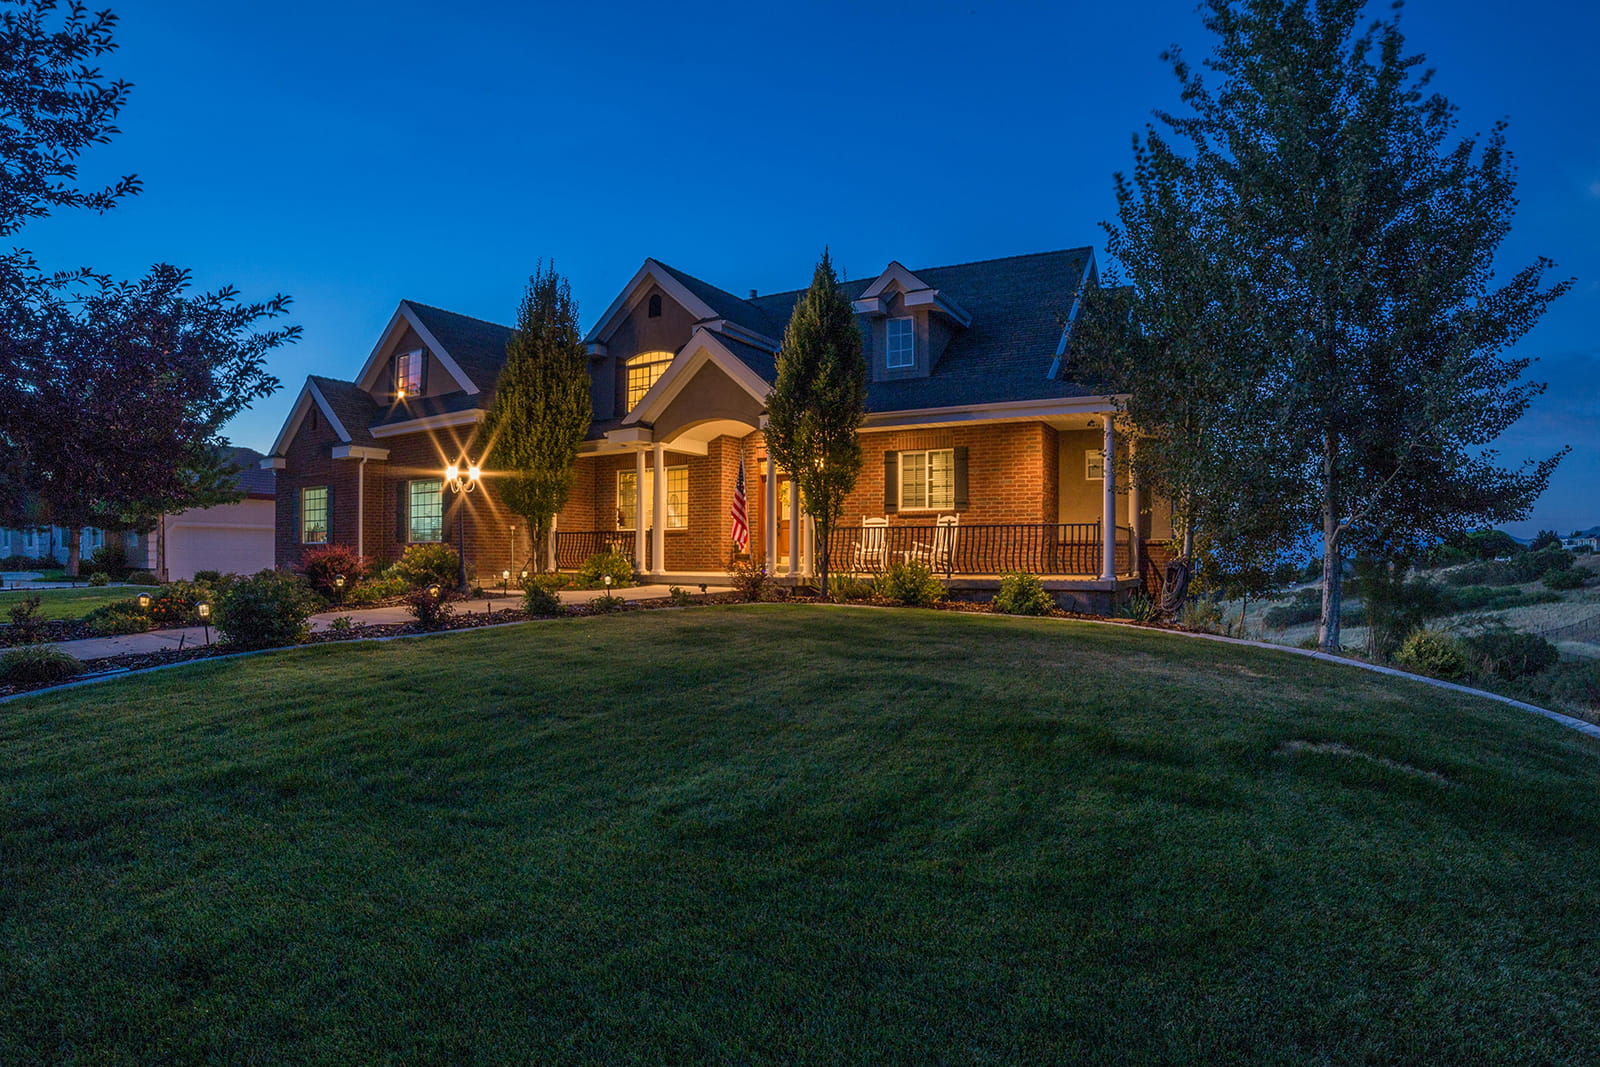
Twilight exterior photos are also very effective. Many professionals consider them some of the most emotionally engaging images in real estate marketing.
Small details, such as a cup of coffee on the counter or a staged workspace, can make the home feel more realistic and welcoming.
Marketing Properties with Photography
In today’s market, strong visuals are essential for attracting attention. Most buyers browse many listings before deciding which properties to explore further.
Typically, including around 25 to 30 photos works well for most listings, though larger properties may require more.
High-quality images help your property stand out, increase engagement, and encourage potential buyers to learn more about the listing.
Well-edited and thoughtfully composed photos can make a significant difference in how quickly a property attracts interest and sells.